Showing posts with label projects. Show all posts

Wednesday, December 3, 2014

Homemade lighted arrow nock

 I have always wanted a lighted arrow nock, but I didn't want to pay $10 each for them. We tried making our own for about $4 each using the Thill bobber light. Mark your nock and arrow to be sure that they are aligned when you put them back together. Drill out your nock large enough for the bobber light to fit. Cut the section that goes inside the arrow in half. Glue the tip of the bobber light in the outer portion of the nock. Glue the base of the light to the inner portion of the nock. Sand down the outer portion of the nock on the half with the light tip so that it doesn't have as much resistance when going into the arrow. Push the rear portion in a click to the on position and insert into the arrow. With it fully seated, you should be able to pull it out a click to turn it off.. You need to use a gel type glue so it doesn't run down and seize up your switch. I used gorilla glue because it is what I had, but I didn't realize that it expanded when it dried.


Wednesday, November 19, 2014

Quick Morning Projects - Phone Stand and Belt Sander Angle Jigs

Since I am getting into the blogging a little heavier, I needed a way to make some quick videos. I have a camera on my phone, but it is difficult to get good angles with it unless someone is holding it. I got the chop saw out and cut a groove at 90 and 95 degrees. One lets me shoot horizontal and the other lets me slightly up or down.

I also got a belt sander to sharpen the knives with, but my fine grit belt and leather belt have not come in yet. The only thing I have right now is an 80 grit belt. I made a few jigs at 15, 20, 25, and 30 degrees to hold the proper angle. After using them though, I think that it would be best to learn to freehand at the correct angles except with the greater angles like 30 degrees. I tested a junk fillet knife on the 15 degree angle and it sucked the knife down between the belt and jig. The chisel on the 30 degree angle worked good though.


Monday, May 12, 2014

How To - Making Bucktail Jigs

So, I like to hand make things to harvest critters. With the cost of time it would be much cheaper to buy a few bucktails. But, I buy bucktail jigs and throw out all the hides we get in the fall. It seems like a no brainer. The only thing I didn't have was the thread bobbin. I tried a couple variations and used pipe cleaner for accent. I think what I am going to do next time is use red thread with clear polish. Also the thread spool I was using was too big for the bobbin and the thread was too thick.

Process:
Clamp the jig head down.
Make a few wraps to get the string locked down.
Put a little fur on the top and make a few wraps.
Put a little fur on the left and make a few wraps.
Put a little fur on the right and make a few wraps.
Finish it off.
Put a little nail polish on it to lock the threads down.

Bucktail, pipe cleaner, jigheads, nail polish, thread, and bobbin.

My oldschool jig clamp.

Not bad for a first run.

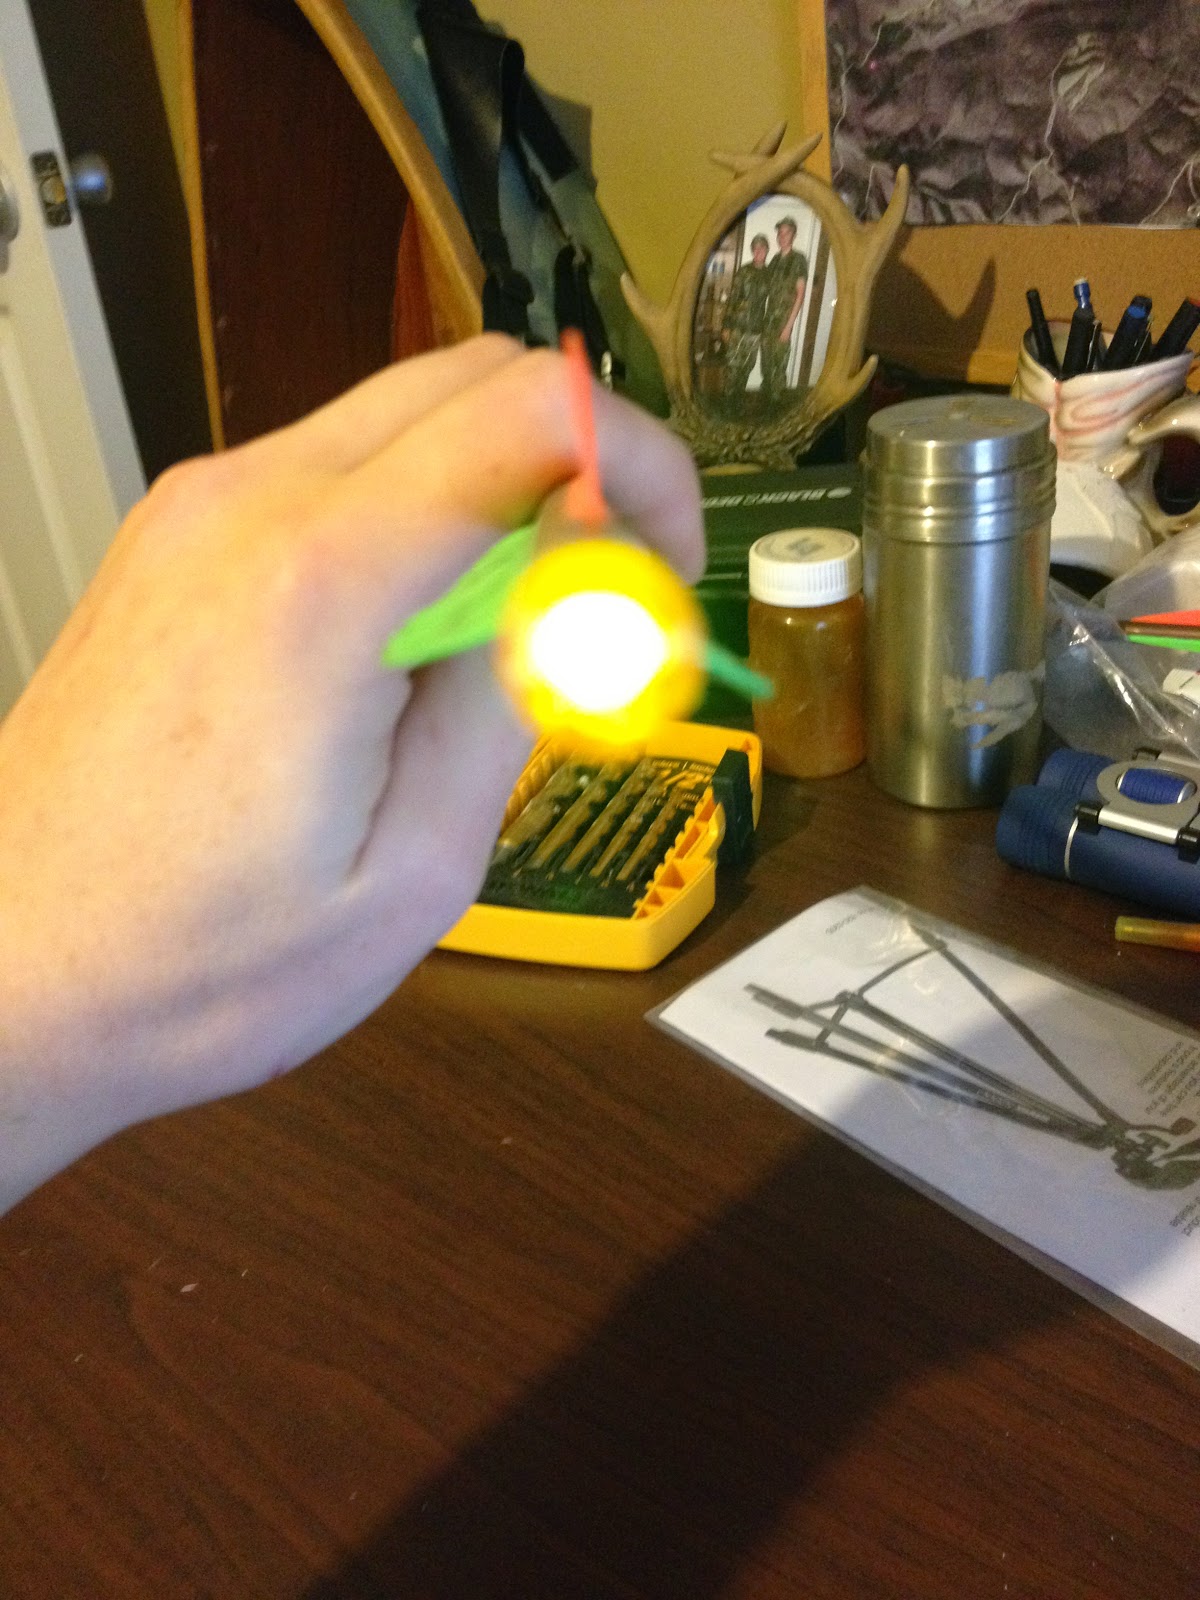
A couple variations. Also, I think pool noodles are about as versatile as PVC.
First fish on my homemade jig.


Story - Outboard Blown Head Gasket

I haven't been able to get this motor to run perfect since I got it 3 years ago. It seems like I change something every time we go out. Over the last year I fixed several things. It would never idle, so I cleaned the carb. That worked. The main problem I have is that it sputters for a bit and then runs great for a bit. There is no consistency. I thought it might be getting hot, so I checked the impeller and it was good.  I checked the thermostat and it had chunks of rubber clogging it up. I think the impeller crumbled and was replaced before I bought it, but they didn't check the thermostat to see where the rest of the impeller had gone. I can't find any spark plugs around here, so I cleaned the ones that were in there. I changed the oil a couple weeks ago and it looked fine.

Yesterday I took the spark plugs out to check them. The top one looked great. The bottom one looked like it had water on it. I checked the oil and it was super milky. I drained it and it looked like cappuccino. I figured it was a blown head gasket, so I started breaking the motor apart. Boom, found it. I ordered another one for $38 and I am hoping that this was the root of all my problems. I think what was happening, was when the thermostat opened it was pumping water into the bottom cylinder. I think that was why it was hit and miss. The good thing is that these motors are relatively easy to work on.


Clogged thermostat.

Bits of old impeller.

Milk in the fuel pump hole.

More milk.

Busted. Literally.


Friday, March 14, 2014

How To - Dropping Brush Piles

We went out to drop brush piles to hopefully help our crappie fishing in the future. I figure that if we take a tree with us every time we go out, we should have a lot of options in a couple years.
Lessons learned:
Get everything ready ahead of time. Assembling everything on the water takes time.
Don't attach the rock directly to the tree. Have a couple feet of wire connecting them so you can put the tree in the water, then the rock.
Transport the pile in the boat. We tried dragging one with a top speed of about .6 mph.
 Fresh wood sinks way easier than seasoned wood. We had to pop the bottle on the dry wood to get it to sink. I think  that one will eventually soak up water and lay on it's side.


Free material from the recycle center means we don't have to buy anything or cut live trees.

Cedar, rock, and bottle. Compliments of the citizens of Rogers. I had the wire already for the garden. The idea is to have the rock on the bottom and the bottle on the top so it will stand up.
It took us a couple trips.

It was kinda scary leaning over the boat in 43 degree water with all that weight.
#1 sinking


#2 sinking

#2 sunk

#3 sinking

#3 sinking

#3 sunk


Tuesday, March 11, 2014

How To - Free Outboard Service

After I realized how easy is was to check the vitals of my motor, I started doing it pretty often. My motor hadn't run right since I got it. It would never idle. To put it in gear I had to throttle down, shift, and throttle up before it died. I finally got tired of it and tore it apart to clean. The carb was way easier to clean than I expected and now I can idle around without the fear of it dying every time. The main problem with my starting/idling was due to the throttle control arm which I will explain below.


Honda BF15 four-stroke.

Not much going on inside.

Disconnect the fuel supply.
Drain the old gas from the carb.

Move the hose clamp back to release the fuel line.

There are two bolts to remove the carb.

Pop off the clasp to remove the choke control rod.
You will have to put the motor in gear and turn to full throttle to take off the throttle control rod. Hold the throttle arm on the carb fully open with the right hand while doing unscrewing the bolt.

Take the carb to a clean work area and take the 4 screws off the bottom.

Remove the pin holding the float assembly together and the two screws in the center.

This is what it will look like with those items removed.

Keep track of how the innards go back in.

Put on eye protection, remove all rubber components, spray with carb cleaner, and blow out with compressed air. Put everything back together in reverse steps of taking it apart.

Be sure to put the rods back on the carb before bolting the carb down. Getting the throttle control rod in the correct position is crucial. This was one of the main problems I had in the beginning. There was no difference between Idle and Start on my throttle positions. You want the control rod to just finish releasing the spring on the carb when you hit bottom of throttle. I have marked mine so I know where it goes.

Make sure to get the carb drain tube into the discharge hole.


No choke position. If the throttle control bar is not touching the black plastic, your Start throttle position will not be high enough. If the throttle control bar is not fully seated when the throttle is all the way down, your idle screw will not work. 

Full choke position. You can see how full choke bumps up the throttle a bit off the throttle arm.


Take the spark plugs out for inspection.

Gap should be .024 - .028. One of mine was barely .022.


Never run your motor out of the water.

Since I am not at the lake I use muffs.
Put the throttle in the Start position and crank it up. Make sure you have good water flow through the cooling system.


After warming up a bit, turn the throttle down to Idle. Adjust the idle speed screw to the desired level. All these adjustments should be relatively close to what they were before.

With the desired idle achieved, adjust the idle air screw back at half turns until the motor runs the smoothest. A good starting point is to screw all the way in and then back it out five turns.