Wednesday, December 3, 2014
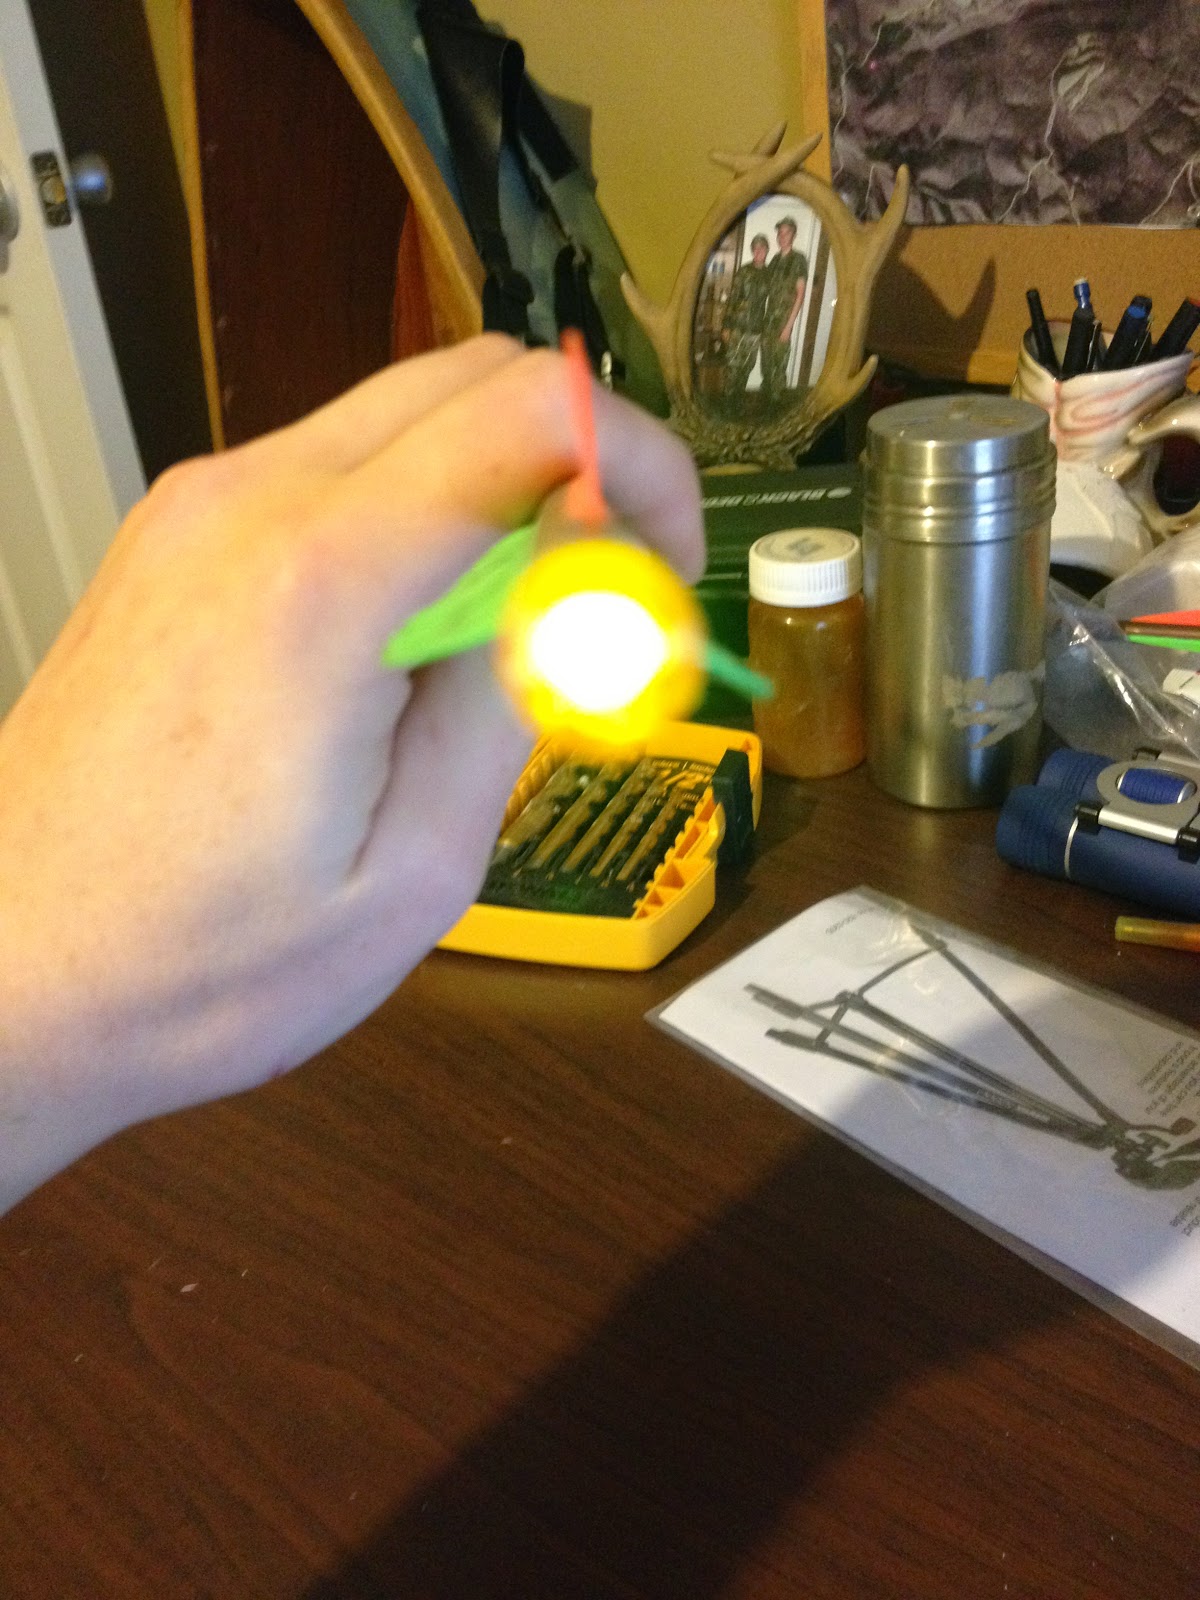
Homemade lighted arrow nock
I have always wanted a lighted arrow nock, but I didn't want to pay $10 each for them. We tried making our own for about $4 each using the Thill bobber light. Mark your nock and arrow to be sure that they are aligned when you put them back together. Drill out your nock large enough for the bobber light to fit. Cut the section that goes inside the arrow in half. Glue the tip of the bobber light in the outer portion of the nock. Glue the base of the light to the inner portion of the nock. Sand down the outer portion of the nock on the half with the light tip so that it doesn't have as much resistance when going into the arrow. Push the rear portion in a click to the on position and insert into the arrow. With it fully seated, you should be able to pull it out a click to turn it off.. You need to use a gel type glue so it doesn't run down and seize up your switch. I used gorilla glue because it is what I had, but I didn't realize that it expanded when it dried.
Subscribe to:
Post Comments (Atom)


No comments:
Post a Comment